Have you ever found yourself in a virtual meeting, staring at a blank screen, trying to come up with ways to make it interactive and engaging for everyone involved?
Well, you’re not alone. With remote work becoming the norm, facilitators are facing the challenge of keeping virtual sessions interesting and productive.
This article contains our thoughts on using the new popular digital tool Miro for facilitation.
Enter Miro – the whiteboard of the future. Miro is a game-changer in the world of online collaboration. It’s a virtual space where you can unleash your creativity, share ideas, and bring your projects to life.
But that’s not all. Miro has a whole host of features that make it the perfect tool for facilitators.
Think about it – how many times have you been in a virtual meeting, and things just didn’t seem to flow? People are typing away on their keyboards, but it’s hard to keep everyone engaged. With Miro, you can keep your team on the same page, visually organize your ideas, and create a fun and interactive experience.
So, if you’re ready to up your virtual facilitation game, keep reading! In this article, we’ll explore the benefits of using Miro for facilitation, and show you how to make the most of its key features.
We’ll also share some best practices for virtual facilitation and why Miro just might be the secret weapon you’ve been searching for.
Get ready to take your virtual facilitation skills to the next level!

Contents
What Is Miro?
Miro is a cloud-based online collaboration and visualization platform used by teams to work together on projects and share ideas. It is essentially a digital whiteboard that allows users to create visual diagrams, mind maps, flowcharts, and other types of diagrams.
It also provides features like sticky notes, file sharing, and real-time collaboration, making it easy for teams to communicate and stay organized.
Miro is used by teams in a variety of industries, including software development, marketing, and design.
The platform is accessible from any device with an internet connection and is designed to be user-friendly, even for those without technical expertise.

The Benefits of using Miro for Facilitation
The benefits of using Miro for facilitation are clear. From real-time collaboration to increased efficiency, Miro provides the tools needed to take your virtual facilitation skills to the next level.
Real-time collaboration and engagement
With Miro, everyone on your team can contribute in real-time, making the facilitation process smoother and more interactive. Imagine being able to visually capture all of your team’s ideas as they come up, without having to wait for someone to type them out. With Miro, you can do just that! This level of engagement helps keep everyone on the same page and ensures that all voices are heard.
An example of this in action: I recently facilitated a virtual brainstorming session using Miro, and it was amazing to see how much more engaged and productive the team was compared to our usual virtual meetings.
Everyone was able to add their ideas to the board as soon as they had them, without having to wait for their turn to speak. It was a game-changer and made the entire session so much more dynamic.
Flexibility and accessibility
One of the best things about Miro is that it’s accessible from anywhere, at any time. All you need is an internet connection and you’re good to go! This level of flexibility allows facilitators to run virtual sessions with ease, no matter where they or their team members are located.
Enhanced visualization and organization
With Miro, you can bring your ideas to life through visuals. Whether you’re creating flow charts, diagrams, or mind maps, Miro provides a visual representation of your thoughts and ideas, making it easier to understand and follow. This level of organization helps keep everyone on track and ensures that all ideas are captured in one central location.
Increased efficiency and productivity
By using Miro for facilitation, you can streamline the process and get more done in less time. With real-time collaboration, enhanced visualization, and flexible accessibility, Miro helps facilitate efficient and productive virtual sessions. And who doesn’t love being able to check more items off their to-do list?

Key features of Miro for facilitation
Miro has a whole host of features that will bring you joy as a facilitator:
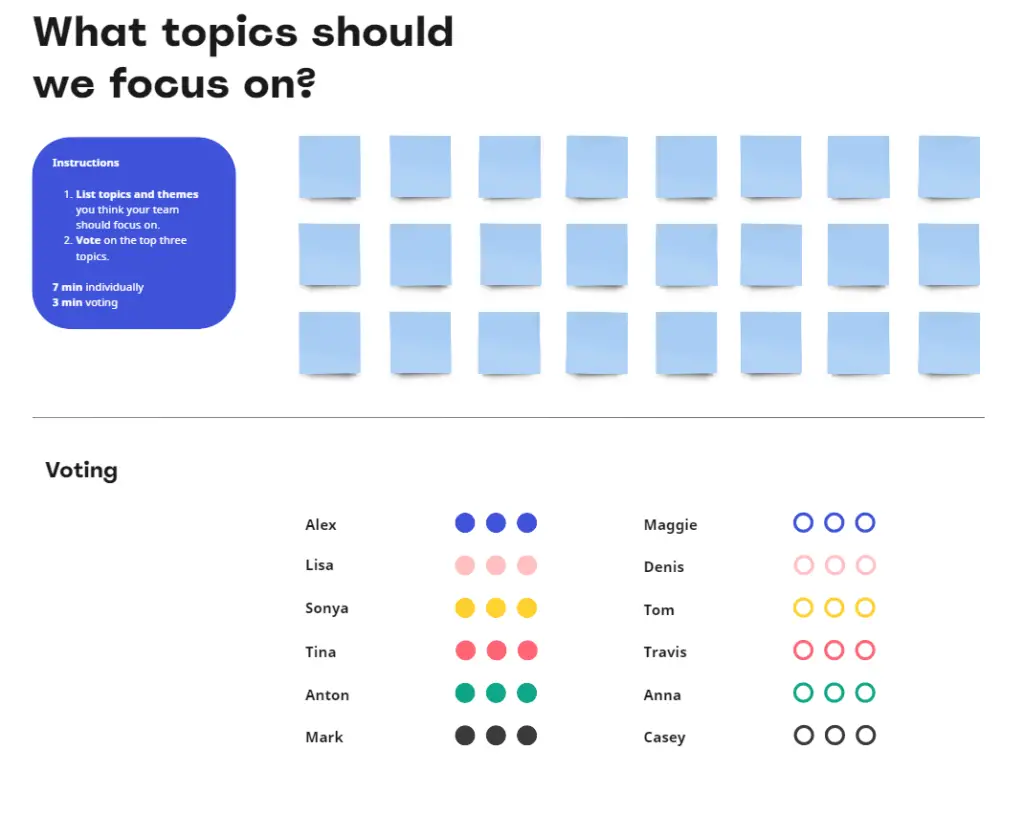
- Virtual whiteboarding and sticky note functionality: Miro’s virtual whiteboarding is one of its most powerful features. You can create an unlimited number of boards, each with its own unique purpose. Whether you’re running a brainstorming session, creating a project plan, or mapping out your ideas, Miro’s whiteboarding capabilities provide a visual representation of your thoughts and ideas. The sticky note functionality is perfect for adding quick notes and ideas to the board, making it easier to stay organized and on track.
- Import and export capabilities: With Miro, you can easily import and export your boards, making it easier to share your work with others. This feature is especially helpful for virtual facilitation, as it allows you to share your boards with your team and make changes as needed.
- Integrations with other tools: Miro integrates with a variety of other tools, making it easier to collaborate and share information. Whether you’re using Google Drive, Trello, or Slack, Miro integrates with the tools you already use, making it even more powerful.
- Accessibility and collaboration features: Miro provides a variety of accessibility and collaboration features, making it easier to facilitate virtual sessions. From real-time collaboration to the ability to share boards with team members, Miro provides the tools needed to keep everyone on the same page and ensure a successful virtual session.
I recently facilitated a virtual planning session for a client and used Miro’s whiteboarding and sticky note functionality to map out their goals and objectives. The team was able to visually see their progress and make adjustments in real-time, leading to a more productive and successful session.
See also: 8 Exciting facilitation techniques to use on Zoom
Best Practices When Using Miro For Facilitation
By following these best practices when using Miro for facilitation, you can ensure a successful and productive experience for everyone involved:
Setting up a clear structure and agenda
One of the most important things when using Miro for facilitation is to have a clear structure and agenda. This means taking the time to plan out what you want to accomplish during the session and how you will use Miro to support that goal. Having a clear structure and agenda in place will help keep the session on track and ensure a successful outcome.
An example of this in practice: I recently facilitated a virtual training session for a group of educators and made sure to set up a clear structure and agenda. I used Miro to create a visual representation of the agenda, including key topics and timelines.
This helped the participants stay focused and engaged, leading to a successful and productive session.
Encouraging active participation and engagement
Another best practice when using Miro for facilitation is to encourage active participation and engagement from your team. This means creating a space where everyone feels comfortable sharing their ideas and opinions.
Utilizing Miro’s virtual whiteboarding and sticky note functionality can help create a more interactive and engaging experience for everyone involved.
Utilizing visual aids and templates
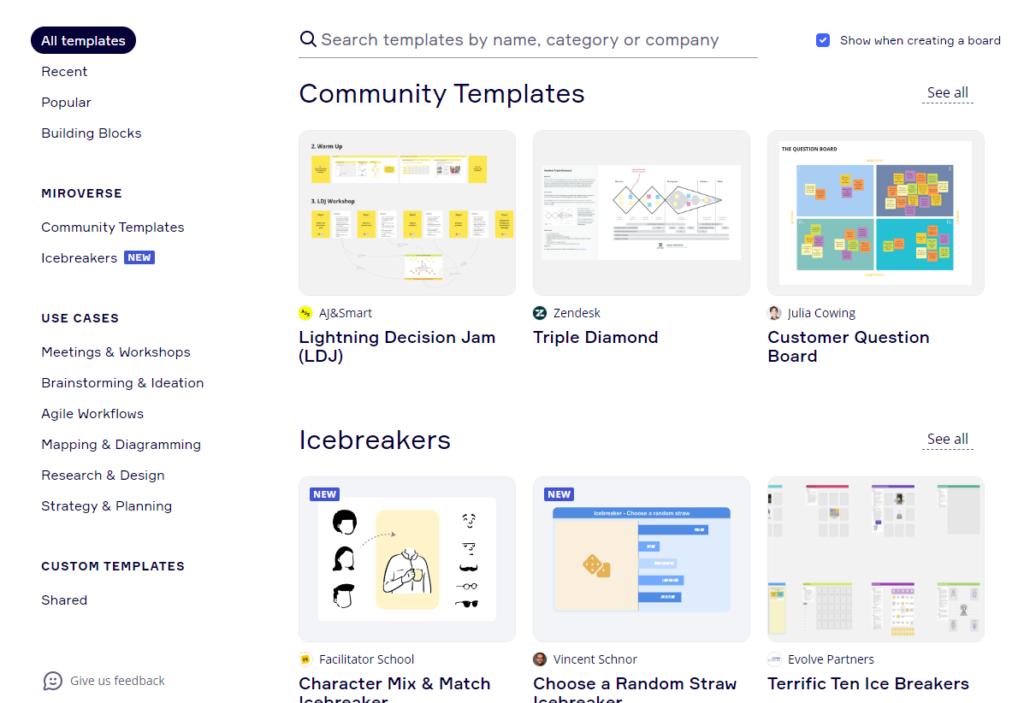
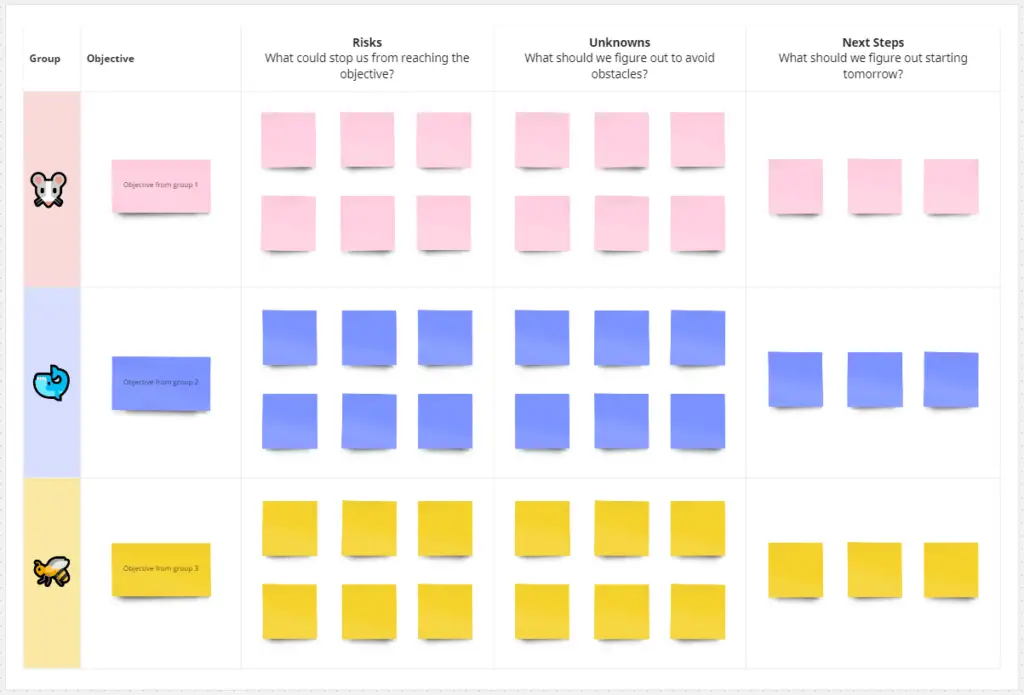
Miro offers a variety of visual aids and templates that can be used to support the facilitation process. From mind maps to flow charts, these templates can help keep the session organized and focused.
Utilizing these visual aids and templates will help ensure that everyone stays on the same page and that the session stays productive.
See also: The history of webinars
Maximizing the use of Miro’s features to support the facilitation process
Finally, it’s important to maximize the use of Miro’s features to support the facilitation process.
This means utilizing the virtual whiteboarding, sticky note functionality, and other tools to keep the session organized and productive.
By making full use of Miro’s features, facilitators can ensure a successful and productive session for everyone involved.

Summary
In conclusion, Miro is a powerful tool that can revolutionize the way you facilitate meetings and workshops.
With its real-time collaboration and engagement features, flexibility and accessibility, enhanced visualization and organization, and increased efficiency and productivity, Miro is the perfect tool for anyone looking to streamline and improve their facilitation process.
We’ve also covered the key features of Miro for facilitation, such as virtual whiteboarding and sticky note functionality, import and export capabilities, integrations with other tools, and accessibility and collaboration features.
These features provide a comprehensive solution that can help you create a more interactive, organized, and productive facilitation experience.
Lastly, we’ve discussed the best practices for using Miro in facilitation, including setting up a clear structure and agenda, encouraging active participation and engagement, utilizing visual aids and templates, and maximizing the use of Miro’s features to support the facilitation process.
By following these best practices, you can ensure a successful and productive session for everyone involved.
In short, if you’re looking to streamline and improve your facilitation process, Miro is the tool for you. So why not give it a try and see the difference for yourself? With its powerful features and easy-to-use interface, Miro is sure to become your go-to tool for all your facilitation needs.
With Miro, facilitators have the opportunity to elevate their virtual facilitation game, offering a comprehensive and accessible solution for online collaboration and engagement.
From real-time collaboration to enhanced visualization and organization, Miro provides all the tools needed to facilitate successful and productive virtual sessions.


