Stakeholder mapping helps a group work out who has a stake in a project, how much influence they have and how much they care about it. By putting every person, group and organisation on one map, the team can see who to involve closely, who to consult and who simply needs to be kept informed.
The most common version uses a grid with power on one axis and interest on the other, an approach often credited to the management researcher Aubrey Mendelow. It is used in project management, community engagement, policy and service design. Run as a workshop, it draws on everyone’s knowledge of the people involved, uncovers groups that are easy to forget, and turns a vague sense that “we should talk to people” into a clear engagement plan.
Because it means discussing real people and organisations, stakeholder mapping can touch on politics and sensitivities. That is why it is worth facilitating carefully, and why the conversation is often as valuable as the finished map.
Method
Agree the focus, list everyone with a stake, place them on the grid, add attitudes and links, check for gaps, then plan how to engage each group.
Step 1: Agree the focus
Write the project, change or decision at the top of the sheet, for example “Redesigning the community transport service”. The map will look very different depending on the question, so make it specific.
Step 2: Brainstorm the stakeholders
Give people ten minutes to write one stakeholder per sticky note. Prompt them to think widely:
- Who will use or be affected by the change?
- Who makes the decisions or controls the money?
- Who delivers the work, including staff, partners and volunteers?
- Who could block it, slow it down or speak against it?
- Whose voice is usually missing?
Be as specific as you can. “Parents of children with additional learning needs” is more useful than “the public”. Group any duplicates together.
Step 3: Draw the grid
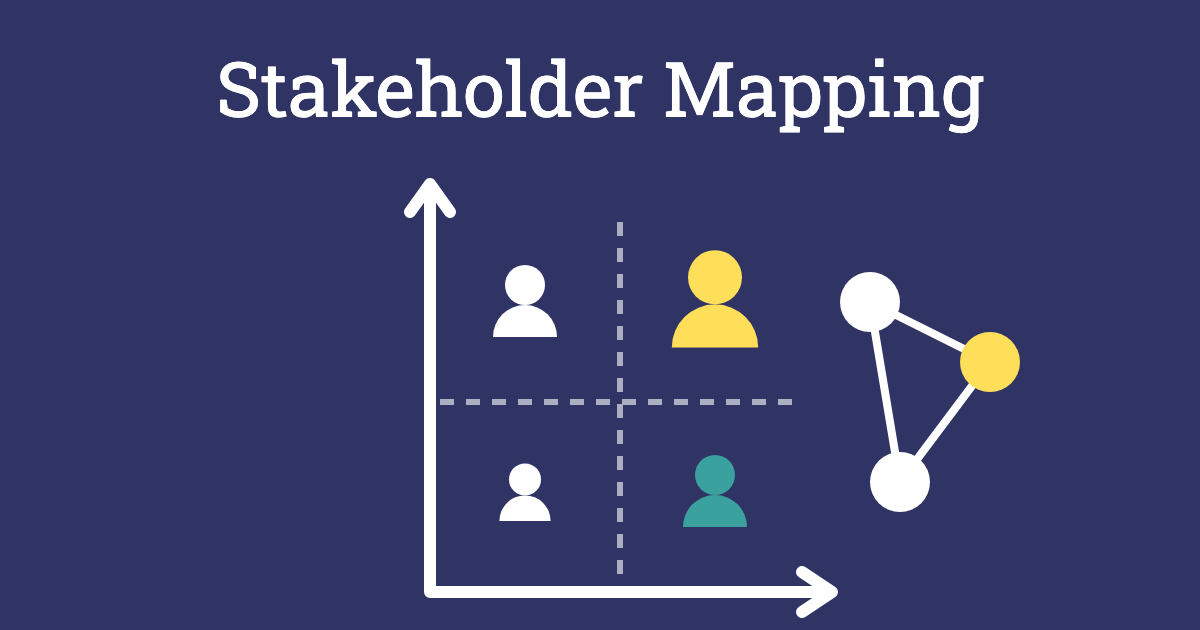
Draw a large two-by-two grid. Label the vertical axis “Power”, from low at the bottom to high at the top, and the horizontal axis “Interest”, from low on the left to high on the right. Explain the four areas:
- High power, high interest: manage closely, and involve them in shaping the work.
- High power, low interest: keep satisfied, giving them what they need without overloading them.
- Low power, high interest: keep involved, by consulting them, listening and keeping them updated.
- Low power, low interest: keep informed, and watch whether their position changes.
Step 4: Place the stakeholders
As a group, place each sticky note on the grid. The discussion matters more than the exact position, so ask people to explain their reasoning and let others challenge it. Where the group disagrees, place the note on the line and mark it with a question mark to check later.
Step 5: Add attitudes and relationships
Use coloured dots to show whether each stakeholder is likely to support, oppose or feel unsure about the change. Draw lines between stakeholders who influence each other. You may find that someone with little formal power has a strong voice through their links with others.
Step 6: Look for gaps
Step back and ask who is missing, especially people with high interest and low power, who are often the people most affected and least heard. Talk about how to change that, for example by involving them more directly in the work.
Step 7: Plan engagement
For each key stakeholder or group, agree what you need from them, how you will involve them, who on the team will lead and when. Write this up as a simple table after the session.
Outcome
A shared, visual map of everyone with a stake in the work, showing their power, interest and likely attitude, with an agreed plan for how to engage each one. The team understands the politics around the project better and is less likely to be surprised by someone it forgot.
Tips for Facilitators
- Mind your language: the map may be seen by the people on it. Describe positions respectfully and avoid labels you would not want to explain to their face.
- Agree confidentiality: conversations about influence and opposition can be sensitive, so agree at the start what stays in the room.
- Challenge the obvious: ask whether the people the team rarely hears from have more interest, or more influence, than it assumes.
- Revisit it: stakeholders move around the grid as a project develops, so date the map and update it at key stages.
- Check, don’t assume: treat the map as a set of guesses to test, and talk to stakeholders rather than deciding for them how they feel.
Variations
- Onion map: draw circles with the project in the middle, and place stakeholders closer to the middle the more directly they are involved.
- Influence web: skip the grid and draw a web of stakeholders, using arrows to show who influences whom.
- Risk check: follow the map with a Pre-Mortem that asks how each key group could cause the project to fail.
- Prioritise actions: plot the engagement ideas on an Impact/Effort Matrix to decide where to start.
- Understand key groups: for the stakeholders who matter most, build an empathy map to understand what they think and feel.
Accessibility and Online Sessions
Use a large grid with high-contrast lines, and read out each note as it is placed so everyone can follow, including people with sight loss. Offer a printed list of stakeholders for anyone who finds it hard to read sticky notes on a wall. Some people may be reluctant to speak about senior colleagues or powerful partners, so allow anonymous notes and small group discussion before sharing with the whole group. Online, use a digital whiteboard with the grid already drawn, give everyone time to add notes privately, and use coloured stamps or stickers for attitudes.