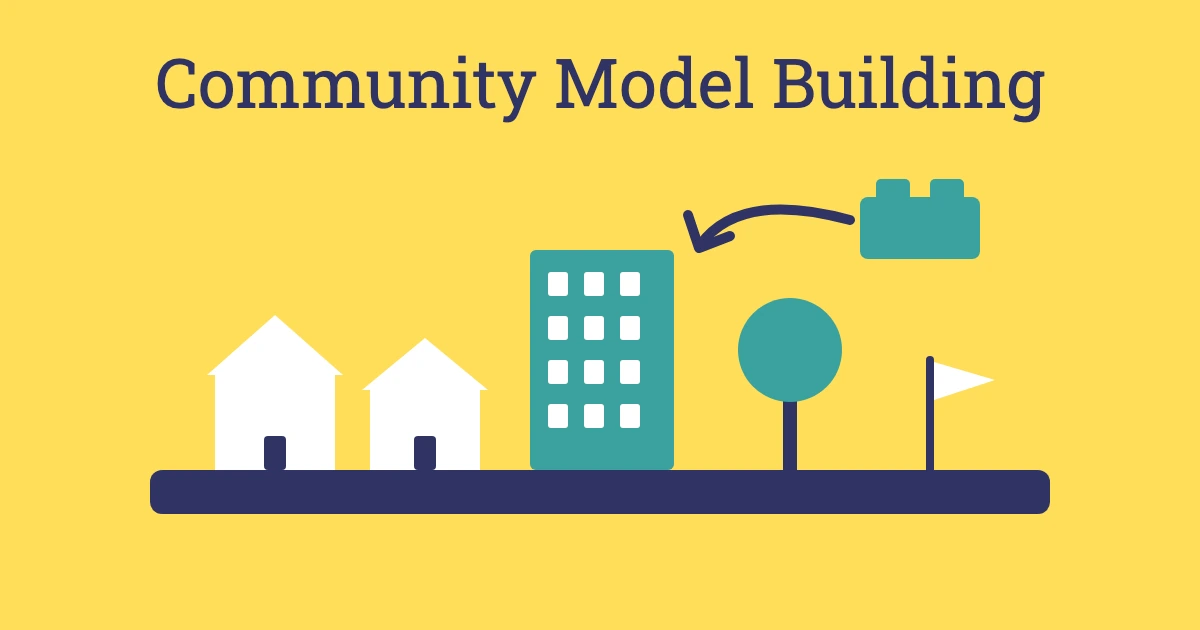
Community Model Building puts a new development on the table, literally. Instead of asking local people to read plans and drawings, you give them a 3D model of the site and the proposed building, plus modelling clay and LEGO bricks, and invite them to change it. People show what they would add, move, shrink or keep, and the conversation becomes far more concrete than it ever would around a set of drawings.
It’s sometimes called participatory model making or a 3D planning workshop. A well-known, more structured version is Planning for Real®, where local people place suggestion cards on a large model of their neighbourhood.1 Use it at a planning meeting or consultation event when a new building, park, street layout or estate is proposed. It works especially well for people who find plans hard to read, people who don’t usually speak up at public meetings, and children and young people.
Method
Prepare a model of the site and the proposal, explain what can and can’t change, let small groups build their changes, then share, photograph and record what they made.
Step 1: Prepare the models
Before the session, make a base model of the site and the streets around it. A printed site plan glued to foam board, with simple blocks of card or LEGO for the existing buildings, is enough. A scale of around 1:200 or 1:300 suits most sites. Then make a separate, removable model of the proposed building or development, so people can lift it out, move it or change it. The developer or architect may already have a model; if it’s too precious to touch, borrow it for display and make a simpler copy that people are allowed to change. If you can, make one set for each table, so groups of four to eight people can work at the same time.
Step 2: Set the scene
Explain the proposal in plain language. Be clear about what is fixed, such as the site boundary, and what is genuinely open to change, and tell people how their ideas will be used. Then invite them in:
“This is a model of the site and what’s being proposed, and we’d like you to change it. Add things, take things away, make buildings taller or shorter, or move them around. There are no wrong answers. Everything you make today will be photographed and shared with the planning team, and we’ll let you know what happens next.”
Step 3: Build
Hand out the materials and give groups 20 to 30 minutes to make their changes. Encourage them to label what they add: a flag saying “bus stop here” or “too tall” is just as useful as a model. If a group gets stuck, give them a question to work on:
“What would you add to make this a better place to live?”
“What would you change, move or take away?”
“Where would you walk, cycle, park, sit or let the children play?”
Step 4: Share the models
Ask each group to explain their model to the room in two or three minutes, or let everyone walk round the tables as if visiting an exhibition. Ask questions that draw out the reasons, such as “Why did you put the play area there?” The reasons are often more useful than the models themselves.
Step 5: Record and prioritise
Photograph every model from above and from the side before anything is packed away, and note the reasons behind the main changes. To get a sense of priorities, give everyone three dot stickers to place on the changes they care about most, as in dot voting. Afterwards, send everyone a short summary of what was built and what will happen next.
Outcome
Planners and developers get clear, visual feedback that shows exactly what local people want and where, along with the reasons. Residents leave feeling properly heard, often with a better understanding of the proposal and the trade-offs involved, and the models and photographs make a strong record for the consultation report.
Tips for Facilitators
- Be honest about what can change: if the height or the number of homes is already fixed, say so at the start. Asking people to redesign something that has already been decided damages trust.
- Make the model easy to read: label the roads and familiar landmarks, such as the school, the shop and the bus stop, so people can find their own street and get their bearings quickly.
- Put a note-taker on each table: the models show what people want, and the notes show why.
- Mix the tables: seat people from different streets, ages and backgrounds together, and include young people if you can.
- Keep the experts listening: planners and architects can answer factual questions, but they shouldn’t redesign the model for people.
- Plan the pack-up: models are fragile, so photograph them first and decide in advance whether you’ll keep them for an exhibition or a follow-up meeting.
Variations
- Drop-in exhibition: leave the model in a library, community centre or school for a week, with materials and cards, so people who can’t come to a meeting can still take part.
- Suggestion cards: instead of building, people place ready-made cards on the model, such as “play area”, “more trees” or “too tall”, along with blank cards for their own ideas. It’s quicker and works well with large numbers.
- Digital version: build the site in Minecraft and let people redesign it on screen. UN-Habitat has published a manual on using Minecraft for community participation.2
- Young people’s session: run a separate session with a school or youth group, then show their models at the main meeting.
Accessibility and Online Sessions
Choose tables at a height that works for wheelchair users and people who prefer to sit, with plenty of room to move around them. Offer large, chunky materials such as big bricks and clay alongside smaller pieces, because fine LEGO can be hard for people with limited dexterity, and let anyone tell a helper what to build if they’d rather not handle the pieces. Describe the model out loud for blind and partially sighted people, and invite them to explore it by touch. Hold the session at a time and place that suits the community, offer interpreters or translated materials where they’re needed, and use the drop-in version for people who can’t attend.
Online, share photos of the model or a simple 3D view, and ask people to mark their ideas on a copy of the site plan on a shared whiteboard, or use the Minecraft version.
Sources
- Community Planning Toolkit: Planning for Real. ↩︎
- UN-Habitat: Using Minecraft for Community Participation (PDF). ↩︎